meta
retractable folding sunshade inside the car
front car view from the backseat
retractable folding sunshade installation
retractable folding sunshade
retractable folding sunshade installation
retractable folding sunshade inside the car
front car view from the backseat
retractable folding sunshade installation
retractable folding sunshade
retractable folding sunshade installation

Custom Size Sun Shade

$68.99

Please measure the height of the windsheild glass along the windshield pillar, and round down to the nearest whole inch.

SKU: CutoutCustom Categories: ,

Description

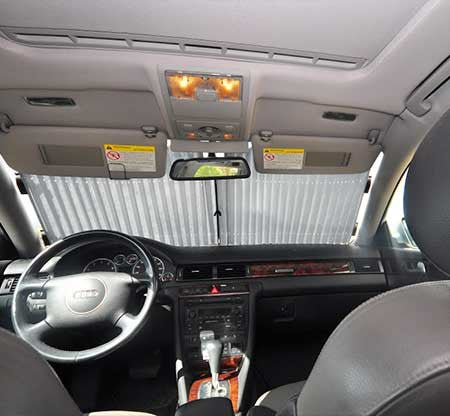
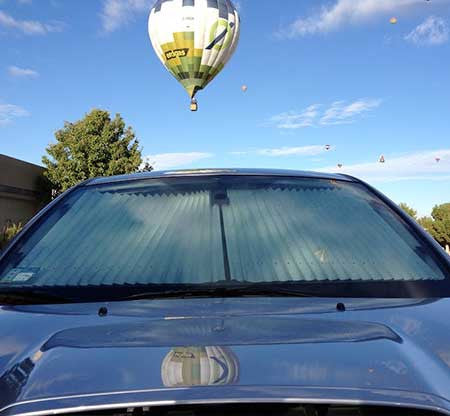
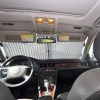
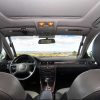
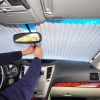
THE ECLIPSE SUN SHADE


Eclipse Sun Shades are a quality choice for your vehicle, proudly featuring:

  • Protection: Reflective material, fully form fitting and mounted to your windshield
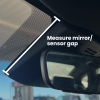
  • Simplicity: Easy to install, open, retract, store and remove
  • Longevity: Cycle tested to 12,000 cycles, made with high-strength steel and quality polyester
  • Style: Elegant appearance with a high-tech flair
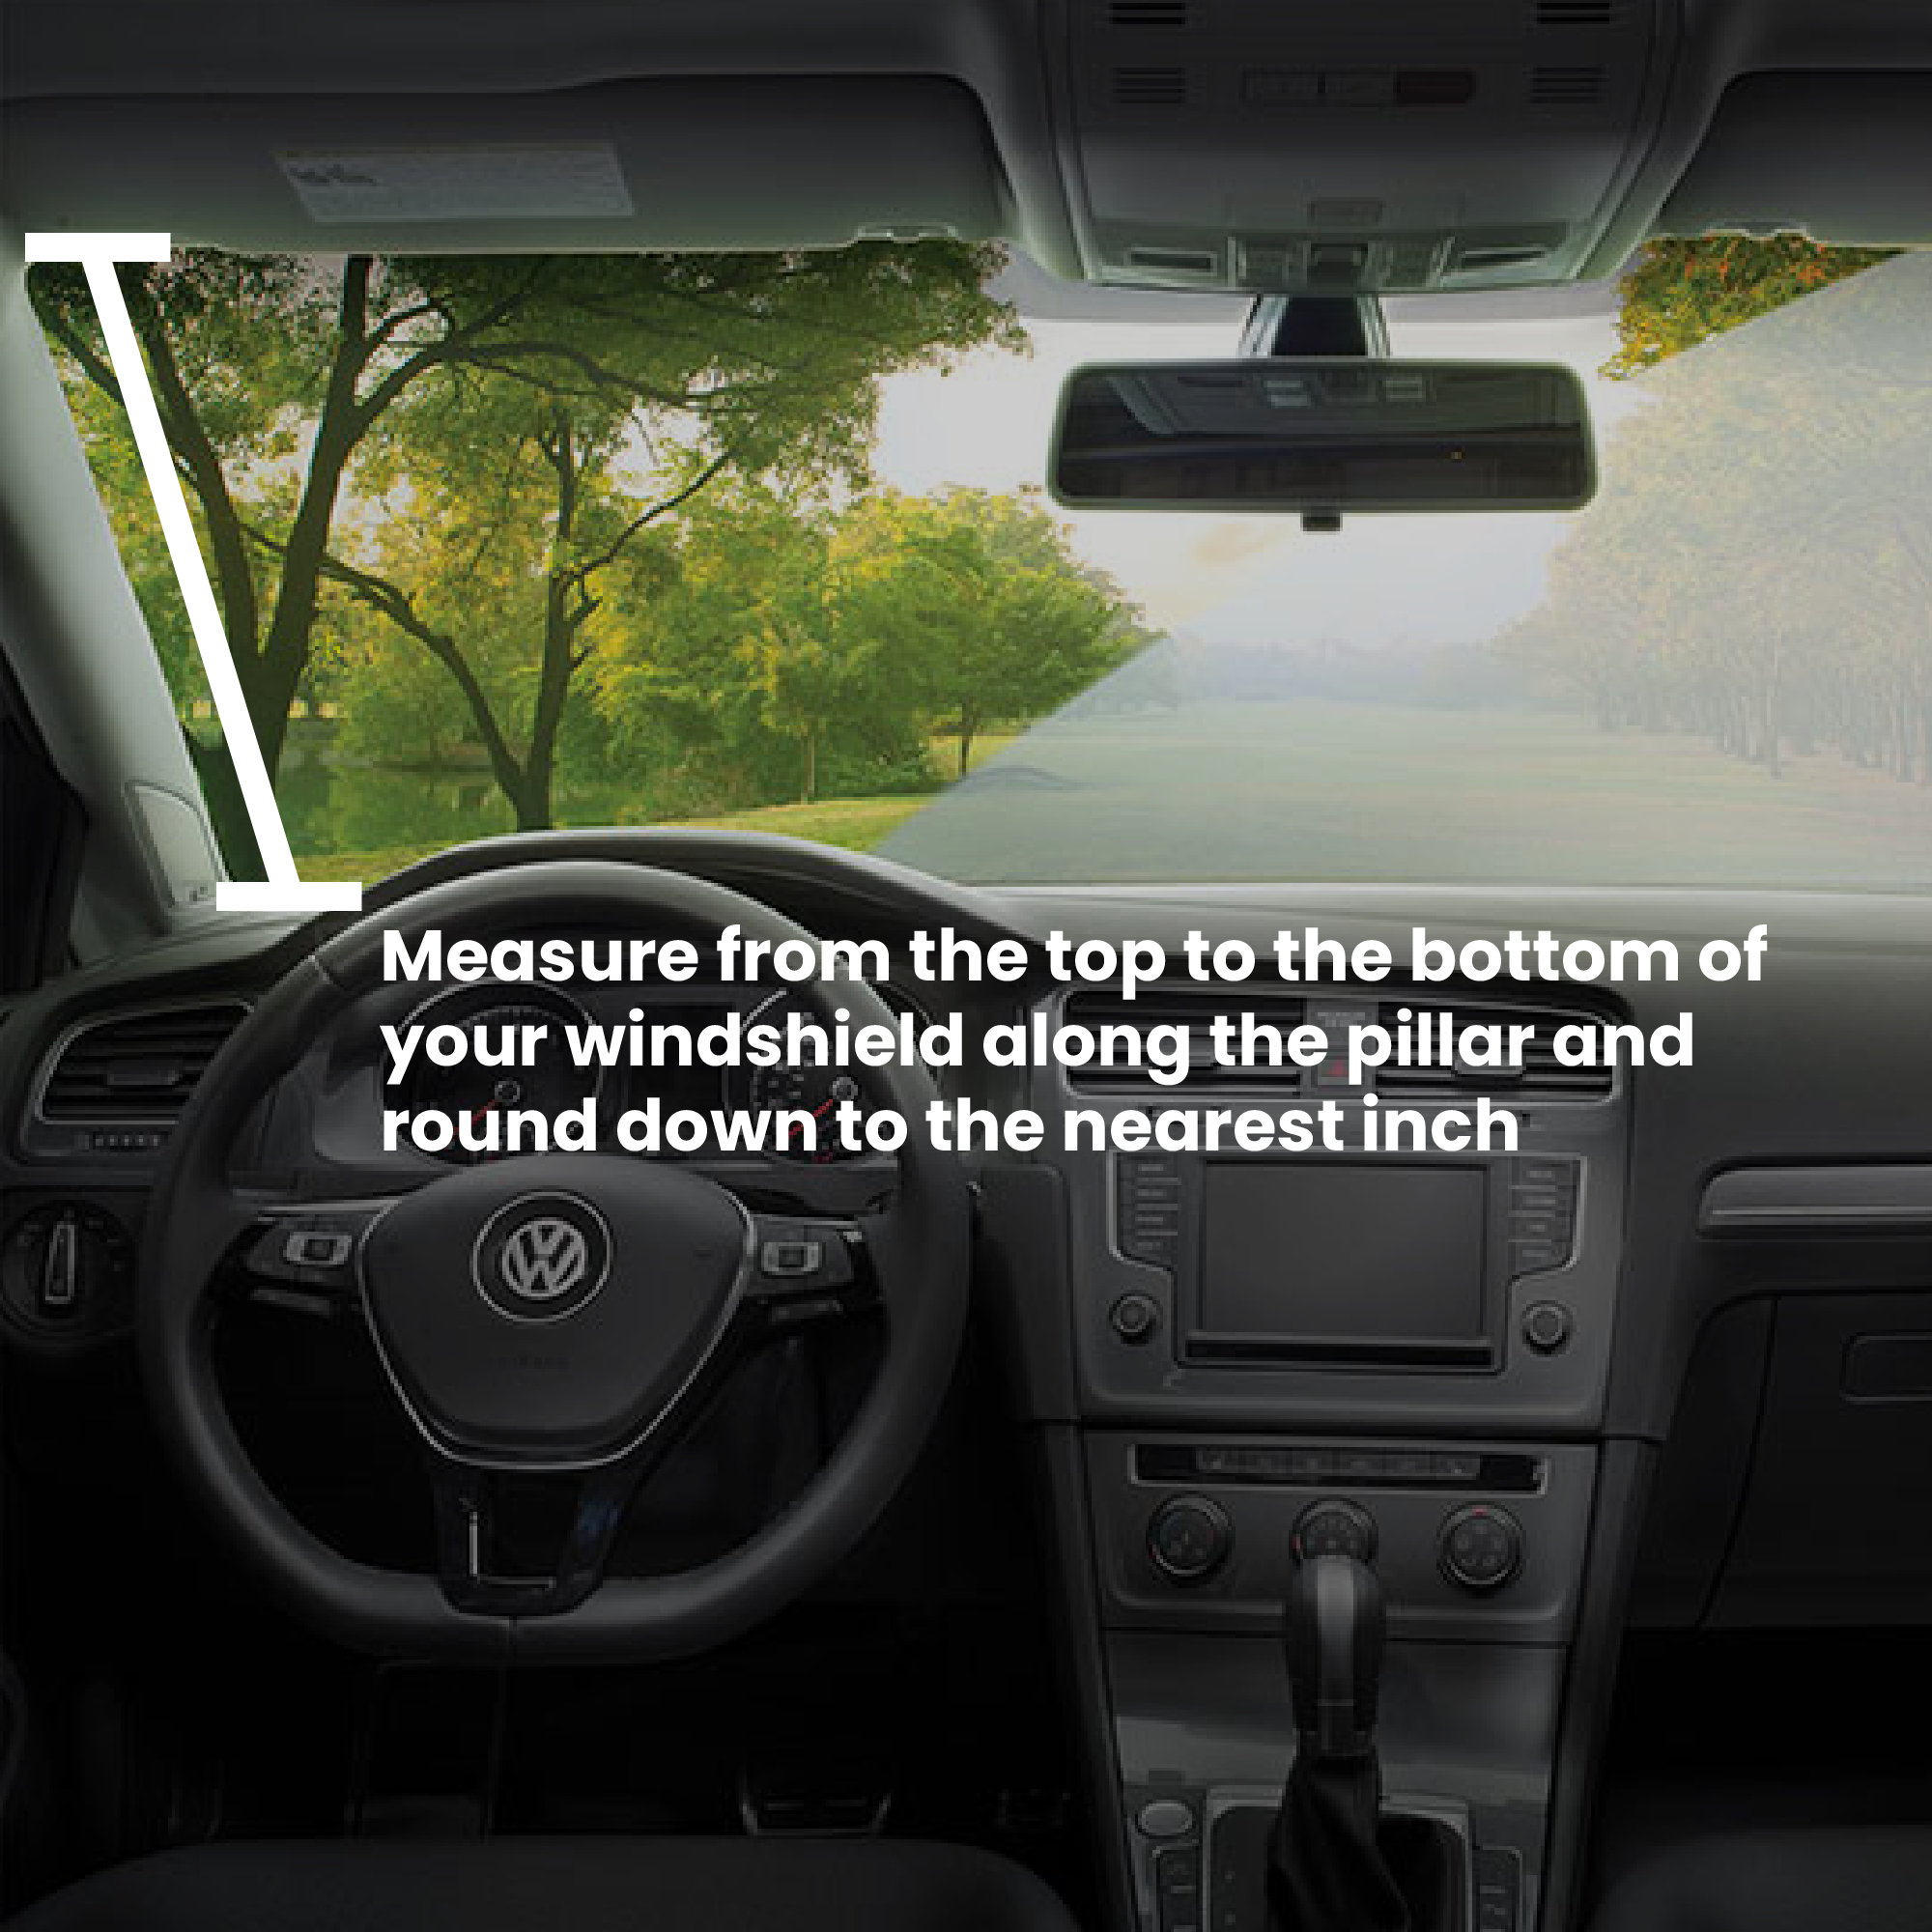
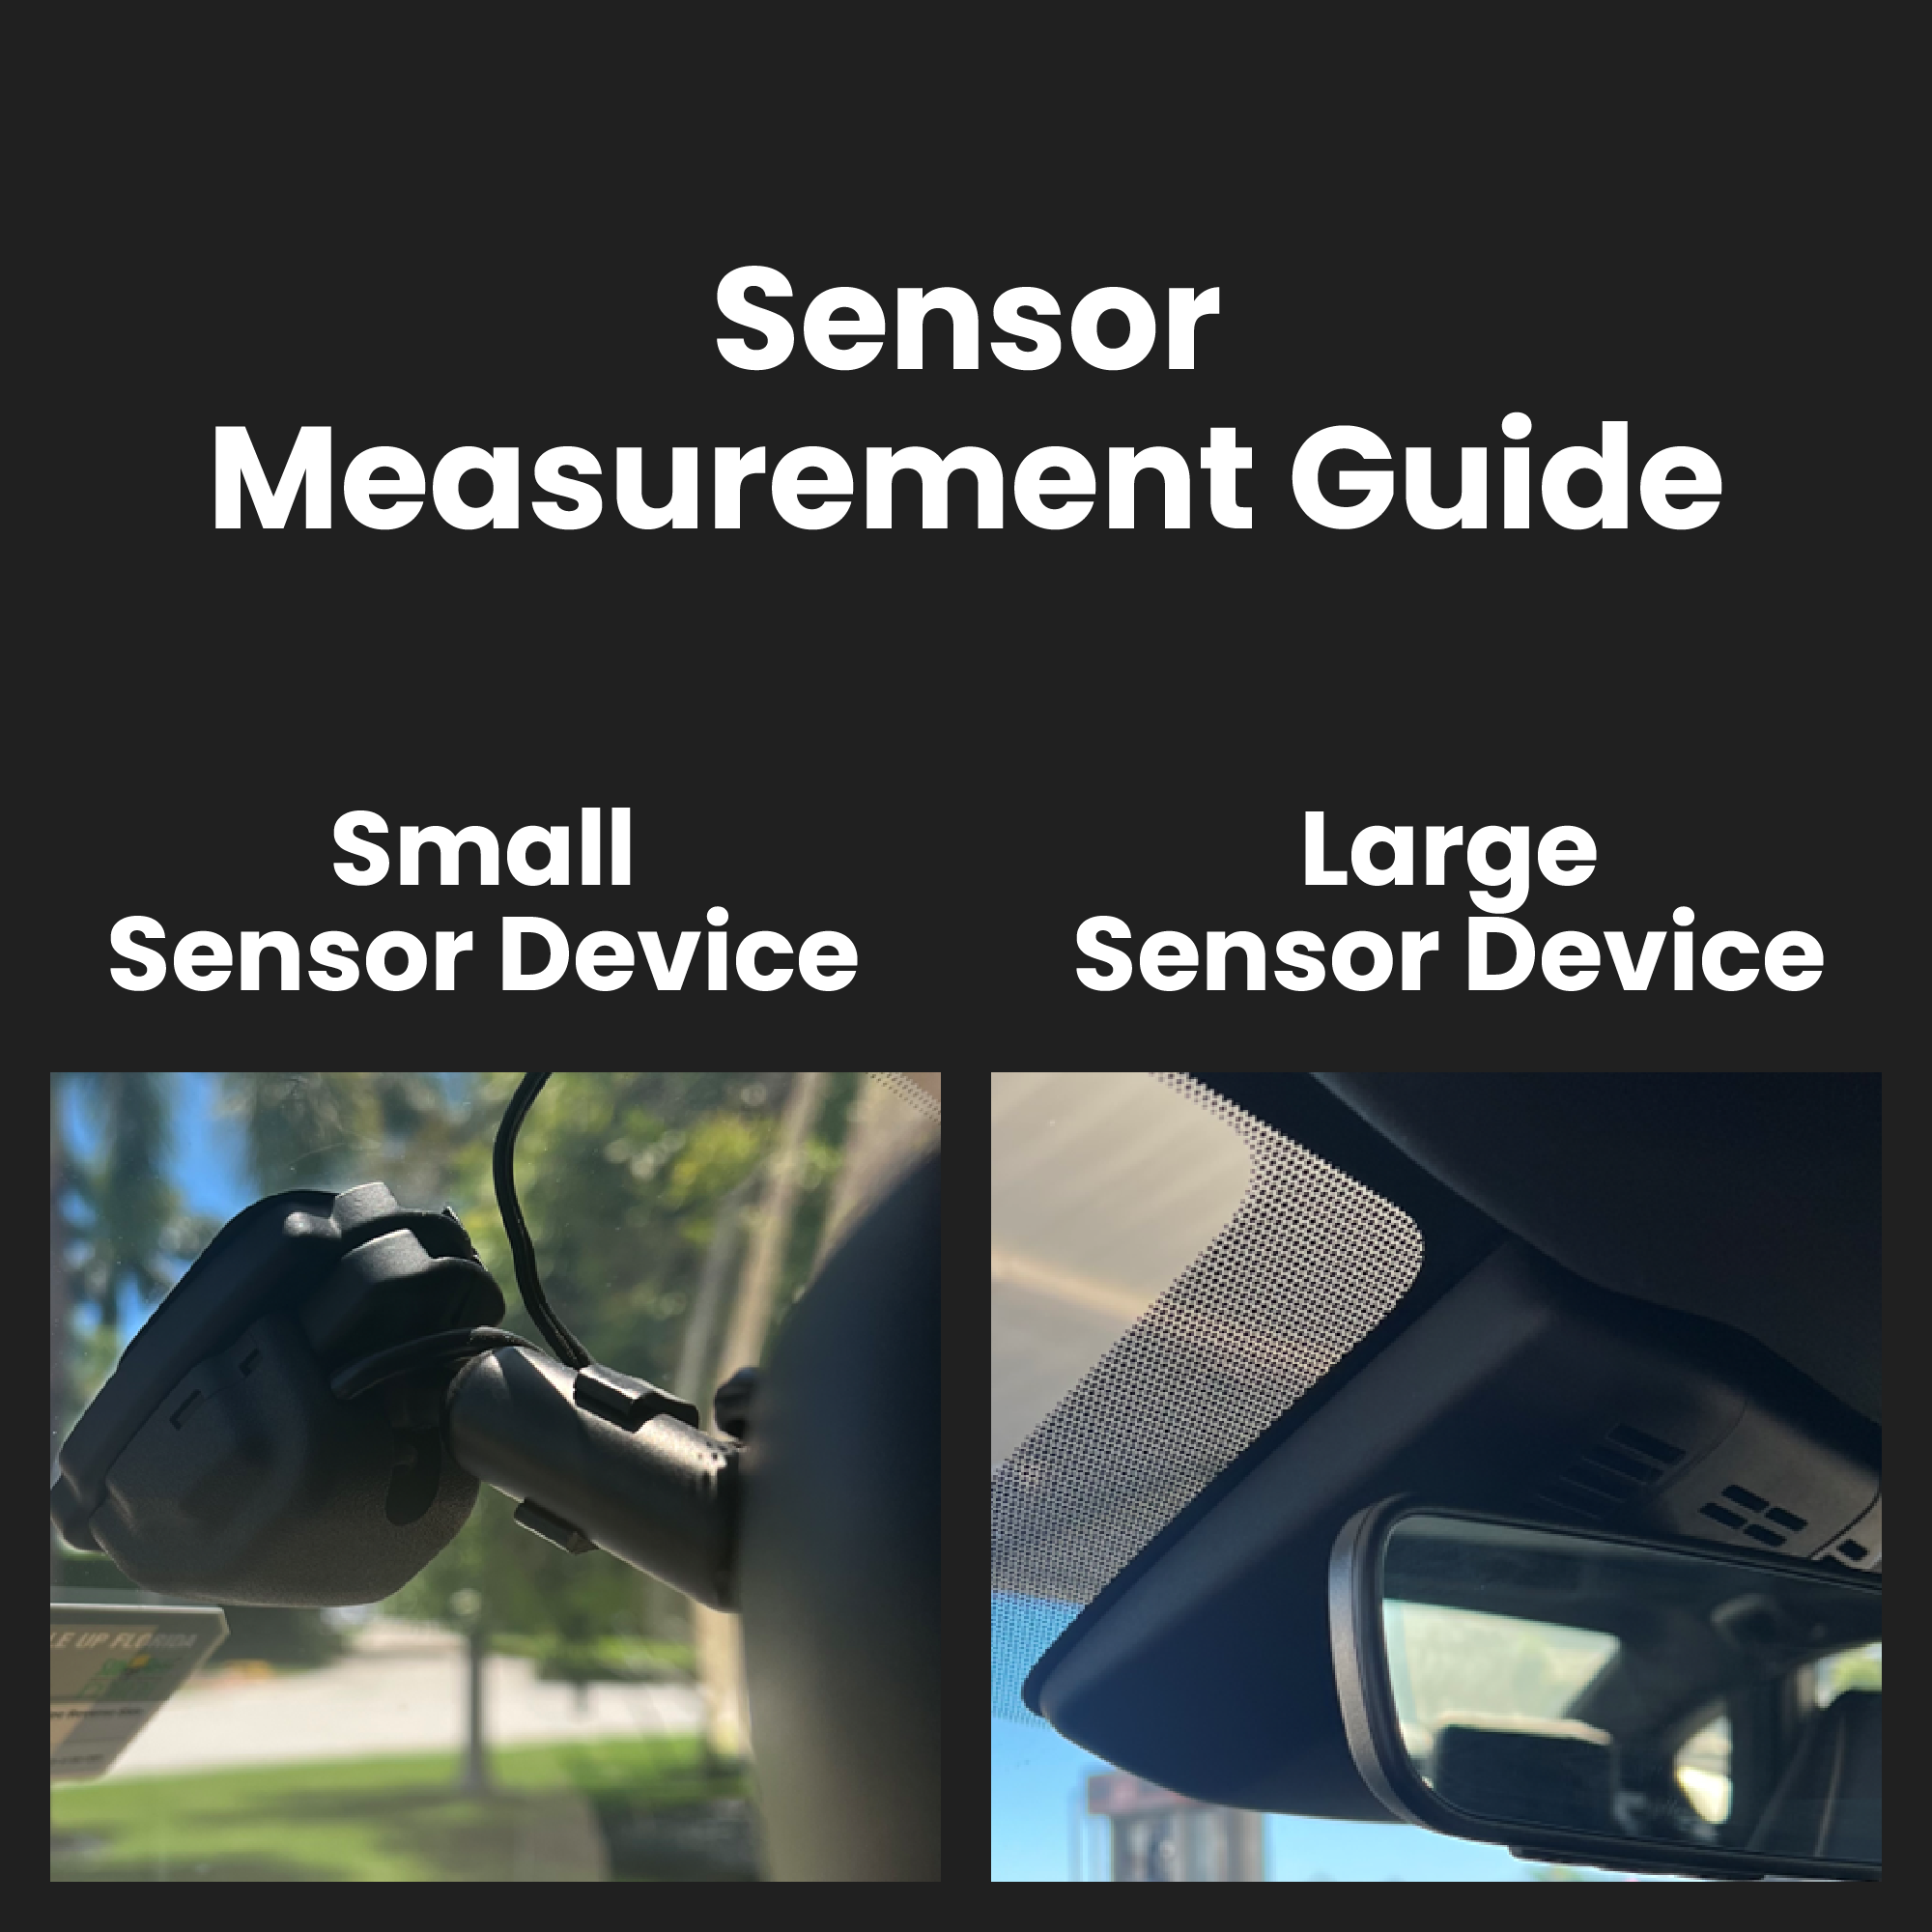
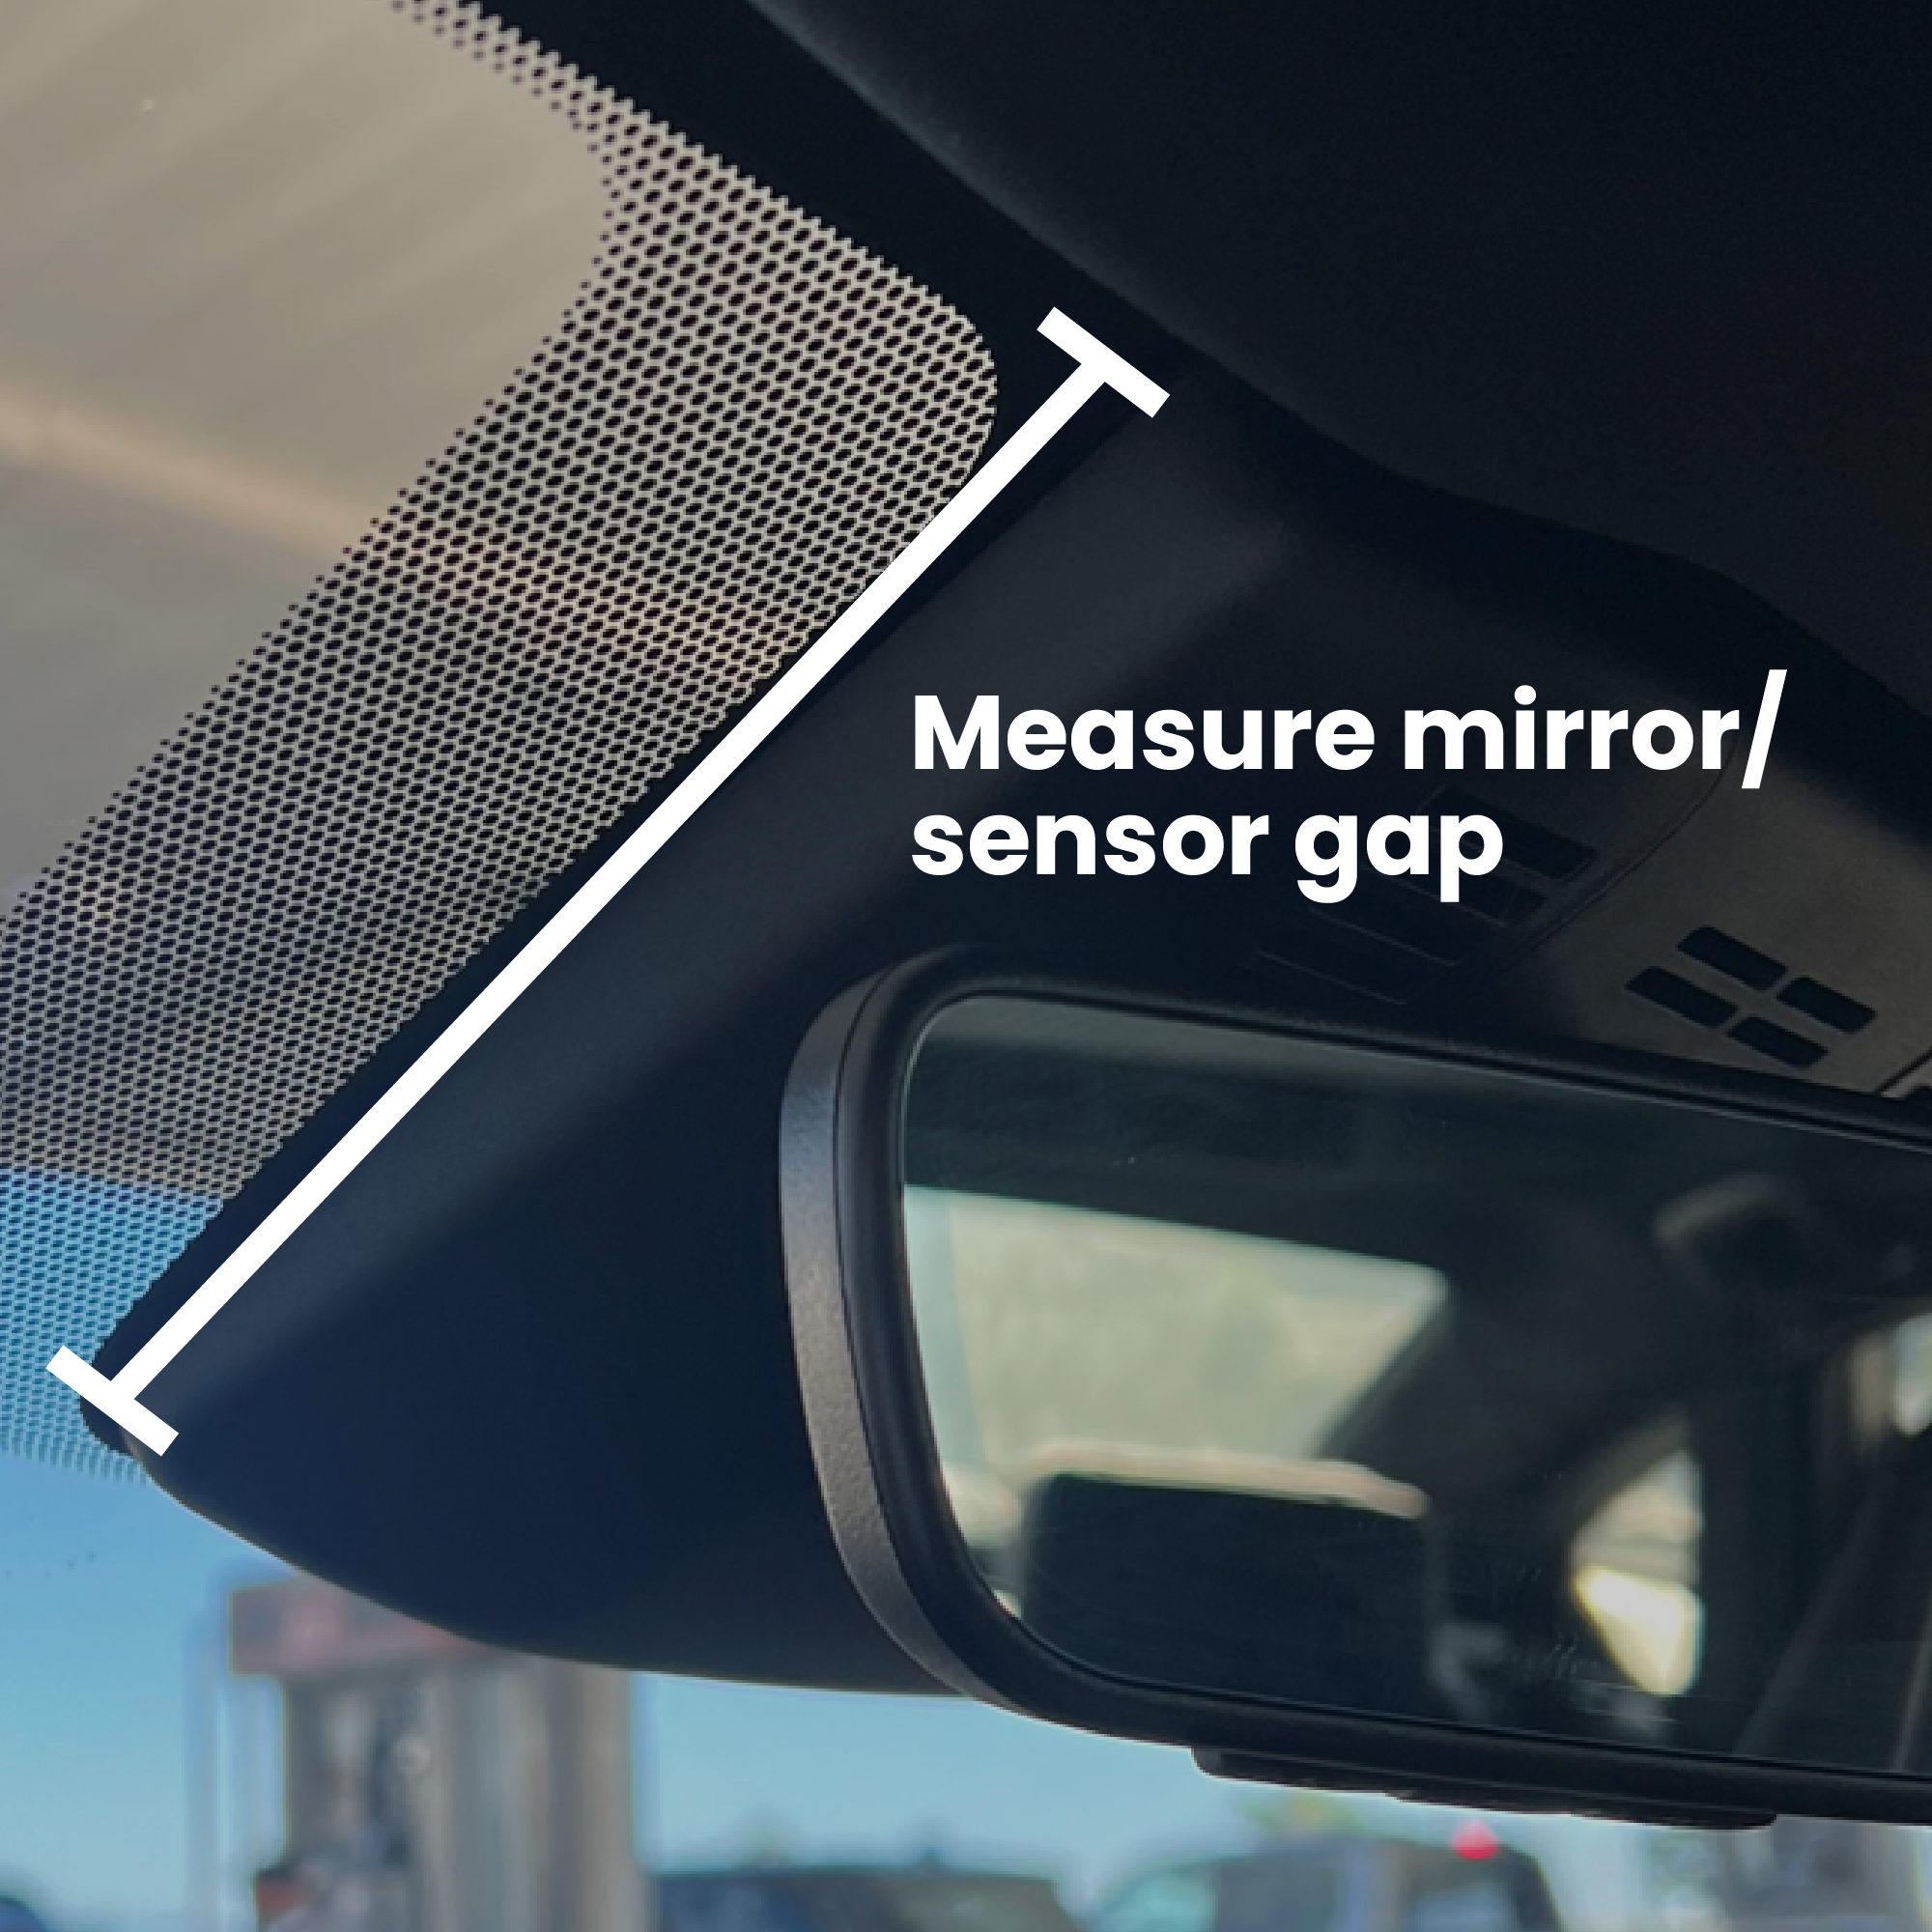
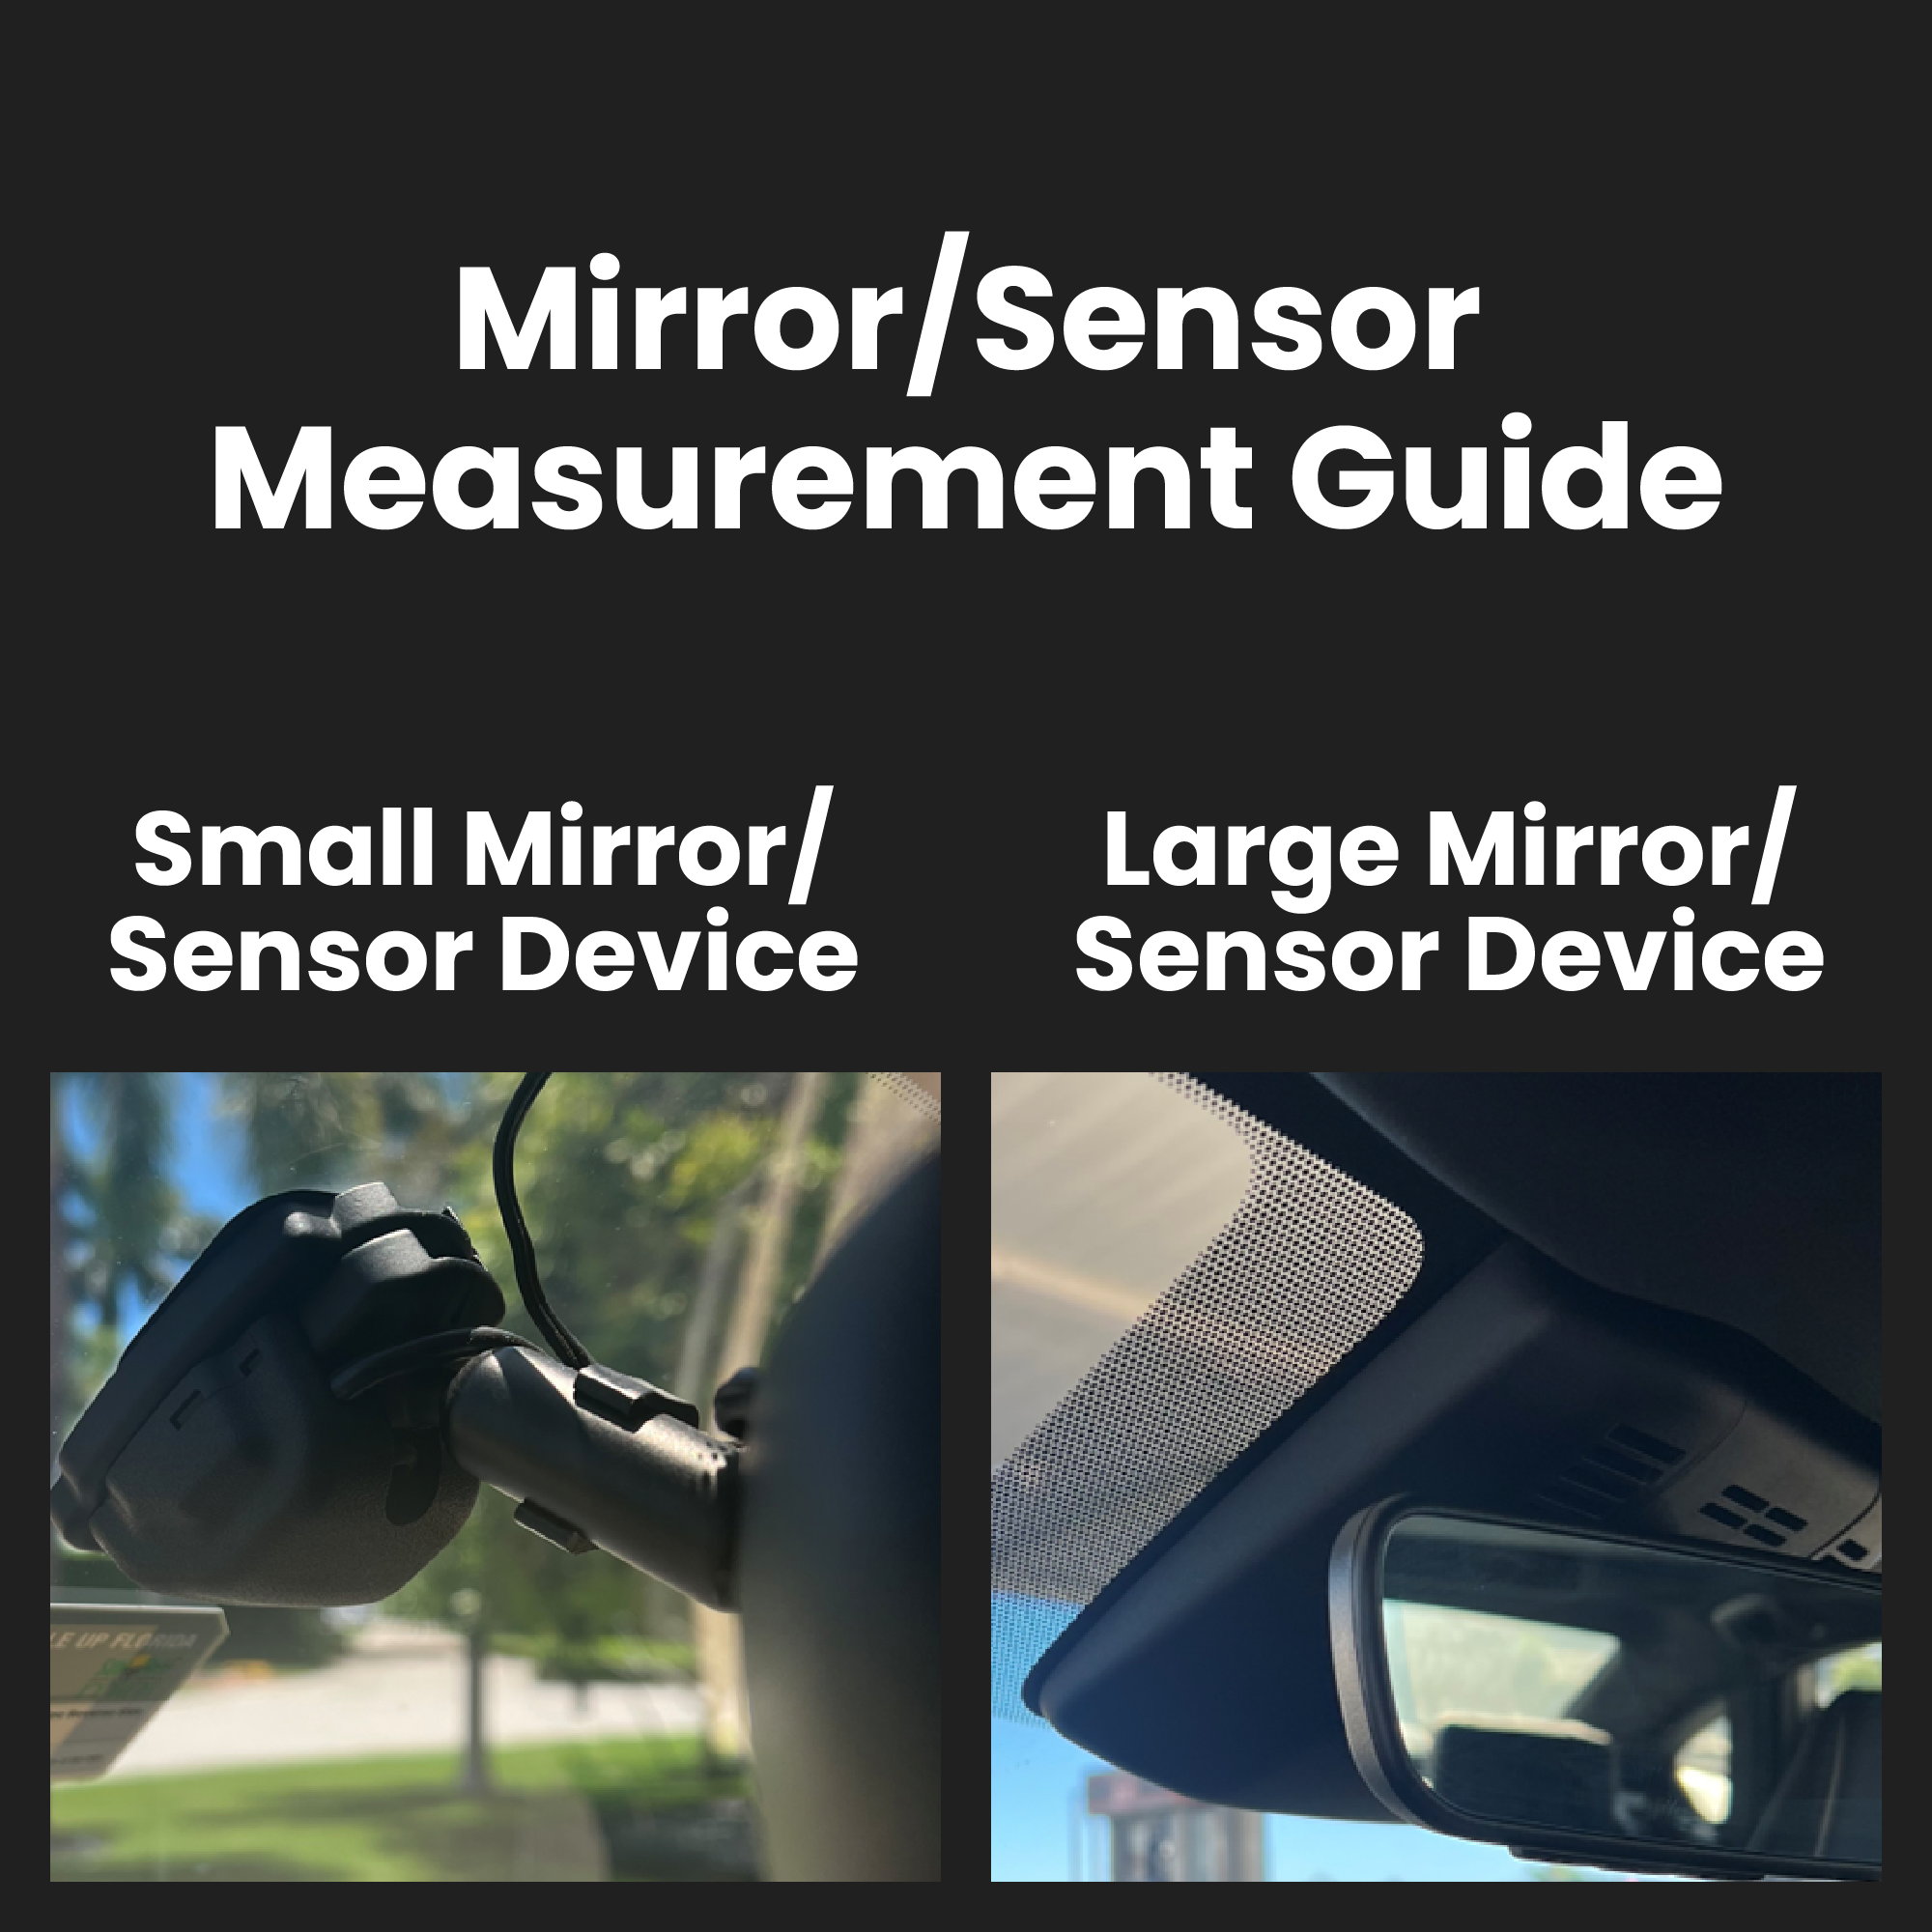
  • Versatility: From cars to trucks, Eclipse fits almost all vehicles!


Additional information

Weight 1.5 lbs
Dimensions 3 × 2.75 in
Height

, , , , , , , , ,

Sensor Device Option

,

Measurement Guide

IMPORTANT
MEASURE CAREFULLY. DIMENSIONS ARE YOUR RESPONSIBILITY!
→ Allow approx. 1/4” of space between shade and trim/dash
    → Don’t allow for shade to touch top or bottom
→ Too short is better than too long
→ Shade installation will accommodate gaps
Figure 1 – Shade Size (Length)
→ Measure windshield from top to bottom near outer edge
    → Inside rounded corners
→ Round distance down to the next lowest full inch
→ e.g. 24.5” = 24”
Figure 2a & 2b – Custom Cutout
→ 2a – 5” Cutout (no sensor/small sensor)
→ 2b – 7” Cutout (larger sensor)

Figure 1

Figure 2a

Figure 2b

ECLIPSE SUNSHADE – Shade Installation

ATTACH ALL MOUNTING CLIPS TO RETRACTOR​
(NOTE: INSTALL SHADE AT TEMP OF 50+F)​

Attach Mounting Clips

  • SEPARATE SHADE HALVES​

    • “SOFT” VELCRO – DRIVER SIDE​

    • “FIRM” VELCRO – PASSENGER SIDE​

  • LEAVE ADHESIVE COVERS IN PLACE​

  • CLIP ARROW POINTING DOWN​

  • SLIDE FOOT INTO CLIP ​

    • TOP TO BOTTOM​

  • FIRMLY PUSH TO FULL ATTACHMENT

Position Shade

A. AT LEAST ½” BELOW TOP TRIM​

B. CLIPS/RETRACTORS​ (CLOSE TO SIDE TRIM BUT NOT TOUCHING​)

C. SHADE BOTTOM CLOSE TO DASH ​ (BUT NOT TOUCHING​)

D. MARK MOUNTING CLIP POSITION​ (MASKING TAPE OR MARKING PEN)

Mount Shade

  • KEEP CLIPS ATTACHED TO SHADE​
  • CLEAN GLASS MOUNTING AREA ​ALCOHOL SWABS PROVIDED​
    • REMOVE ADHESIVE COVER​
  • CAREFULLY ALIGN TO POSITIONS​
  • FIRMLY PUSH CLIPS ON WINDSHIELD​
  • INSPECT ADHESIVE TAPE BACK SIDE​
    • VIEW FROM OUTSIDE OF VEHICLE​
    • PRESS OUT VISIBLE AIR POCKETS​
    • ALLOW ADHESIVE TO CURE FOR SEVERAL HOURS BEFORE USE